
You want a perfect cake every time — not a sunken center, not stuck to the pan, not a dense slab. Sinking and deflating are the top griefs for home bakers, and the fix usually comes down to technique: room temperature ingredients, accurate measures, and a calm oven. In fact, room temperature everything showed up in 12 out of 20 sources I reviewed — it really matters for emulsification and rise. This guide teaches you how to bake a cake the right way so your next cake recipe becomes a reliable favorite.
The secret tools that helped me? A digital+kitchen+scale for spoon-and-level precision and a heavy-duty stand+mixer for creaming until fluffy—they cut errors fast. Read on for step-by-step techniques, troubleshooting, and quick product picks that save time and prevent common mistakes.
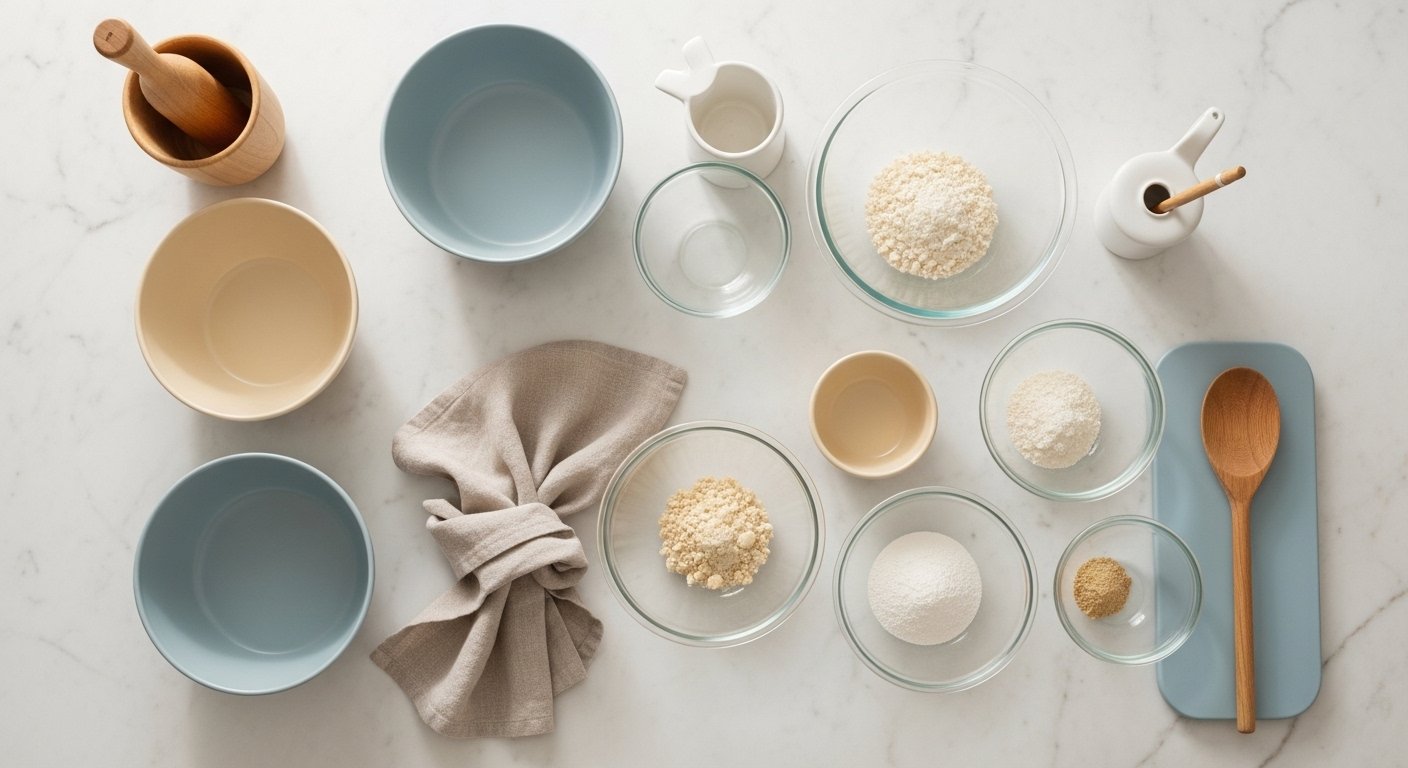
Preparing Your Ingredients — room temperature and measuring right
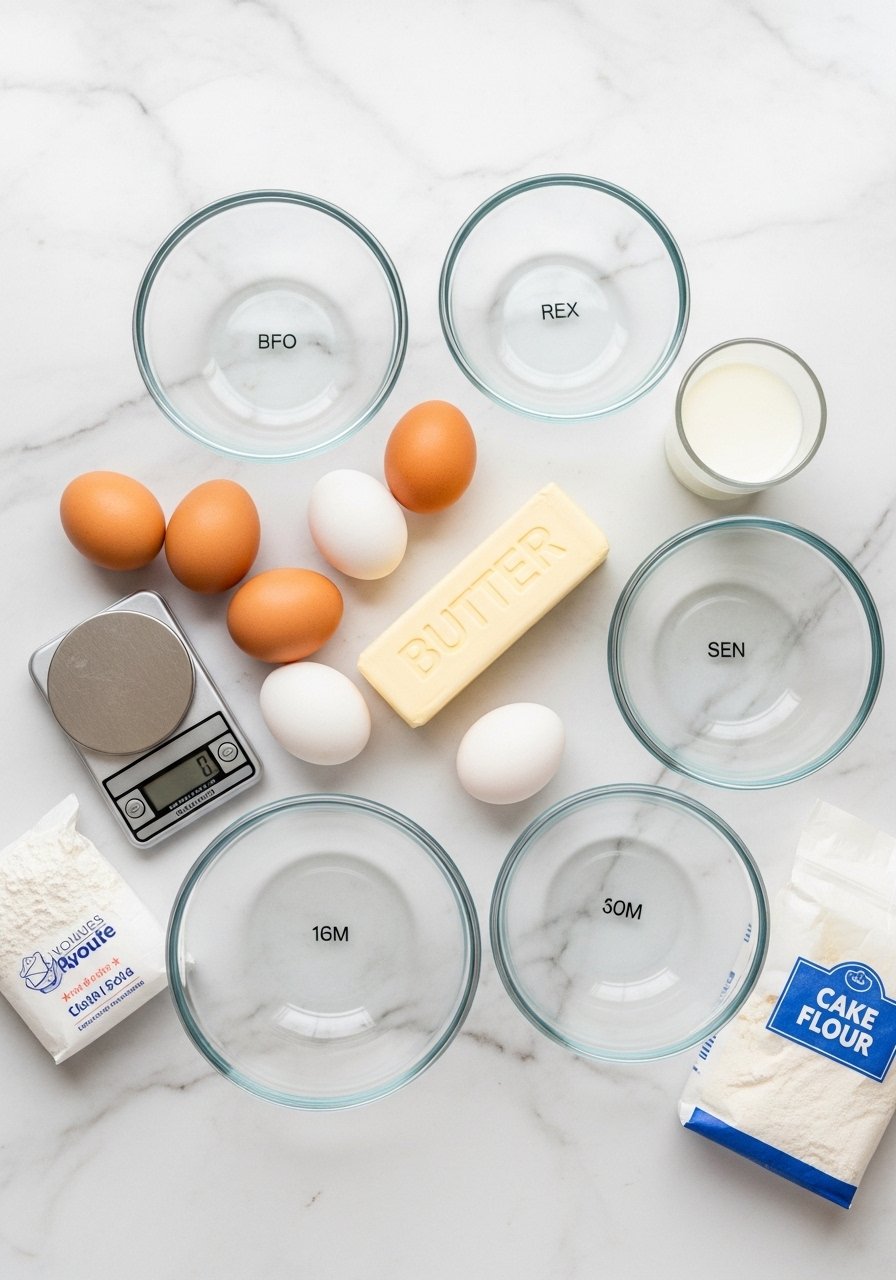
- Pull butter, eggs, and milk out 1–2 hours before you start so everything is room temperature — this helps emulsification and gives a consistent crumb.
- Spoon and level your cake flour into a cup or use your scale for accuracy. Spoon-leveling prevents dense cakes; a kitchen scale removes guesswork.
- Fresh leaveners matter: check baking powder/soda dates. Stale leaveners are a common cause of sinking.
- Quick tip for add-ins: toss berries, nuts, or chocolate chips in a tablespoon of cake flour to stop them from sinking (use this if making a fruit-filled pound cake; cost is about $1.80/serving).
Master the Mixing Technique — cream until fluffy, then just until combined
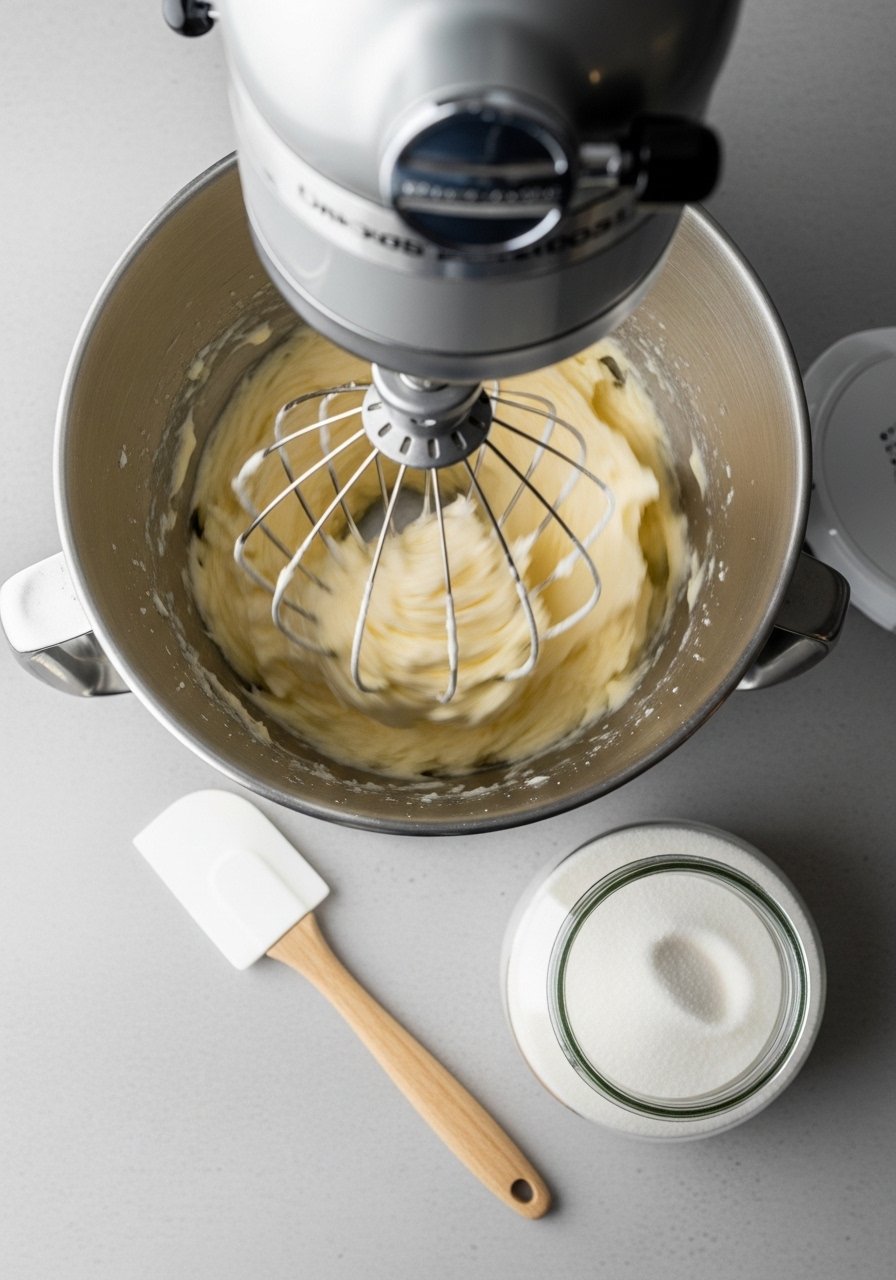
- Cream butter and granulated sugar until pale and fluffy — about 3–5 minutes on medium. This traps air that expands in the oven.
- Add eggs one at a time, beating just until combined. Then alternate dry and wet ingredients, mixing just until combined to avoid overdeveloping gluten.
- If you're making a chocolate cake, bloom Dutch-process cocoa with hot coffee or espresso powder for deeper flavor without coffee taste — this tip shows up in chocolate recipes that cost around $2.50/serving.
- Product help: a silicone+whisk and a quality stand+mixer make these steps smoother.
Why this works: gentle mixing preserves the tiny air bubbles from creaming; overmixing causes dense, chewy texture — a top pain point.
Pan Prep, Oven Setup & Baking — preheat fully and protect release
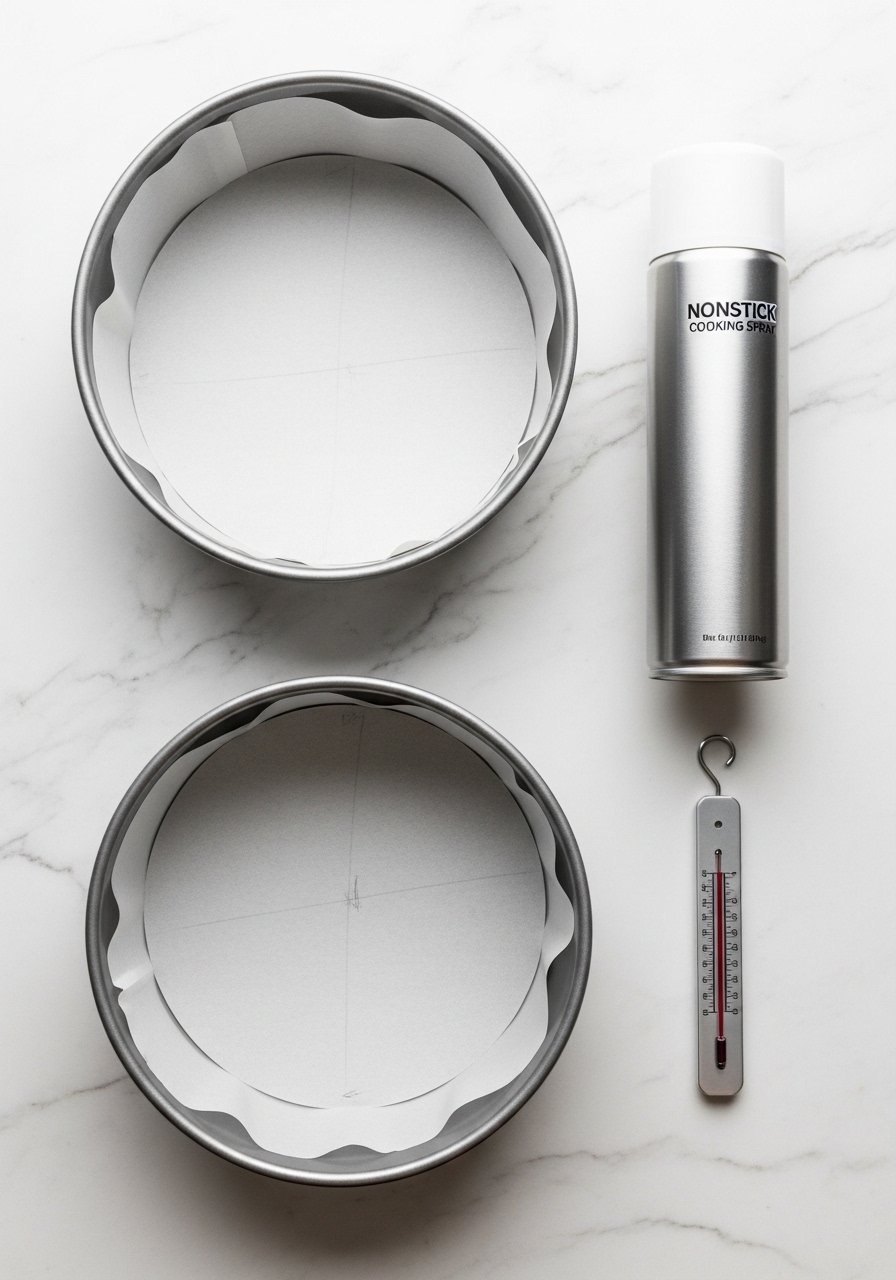
- Grease + flour or use a traced parchment round inside the pan for foolproof release. Trim any marker ink from the parchment edge to avoid off-flavors — a little-known tip many guides skip.
- Preheat your oven fully and confirm with an oven+thermometer — many ovens run hot/cold. In recipe testing, using a thermometer reduced uneven rise complaints dramatically.
- Bake at the recipe’s listed temp; test doneness with a toothpick or gently press the top for springback. If using internal temp checks, aim near 195°F for dense butter cakes (check with an instant-read+thermometer).
- For sticky pans, a light spray like nonstick+spray plus parchment is a reliable combo.
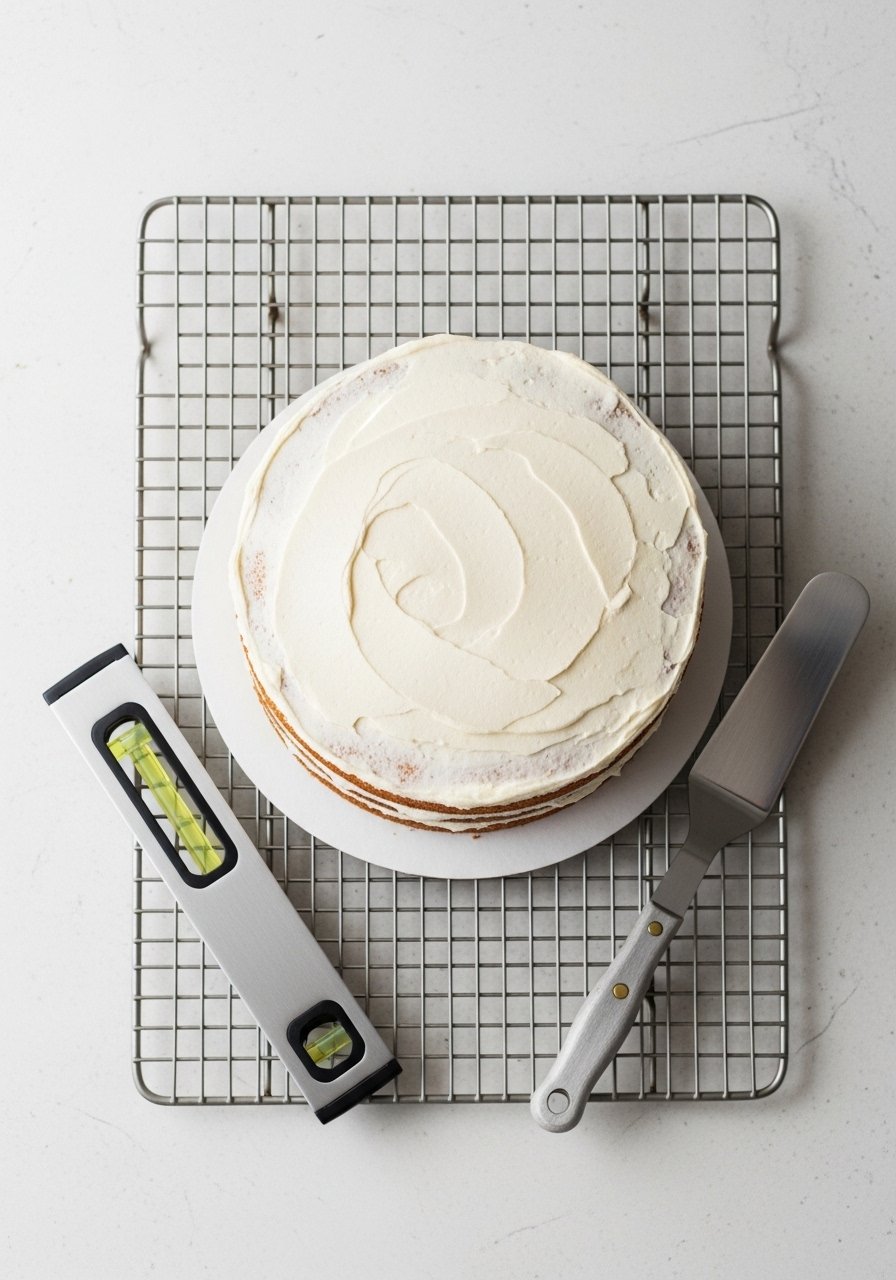
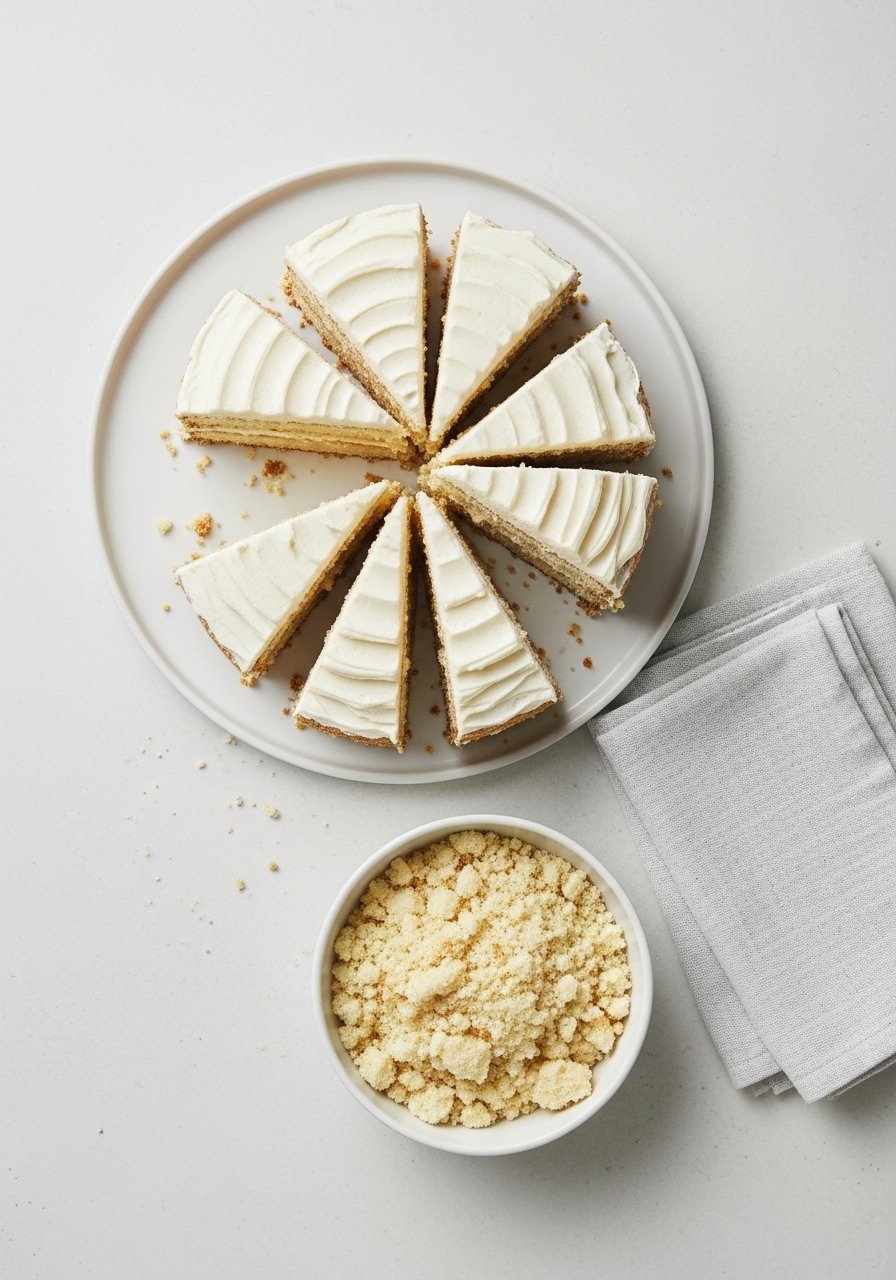
Leveling, Frosting & Make-Ahead Storage — finishing like a pro
-
Cool cakes fully on a wire+cooling+rack before leveling to avoid tearing. Use a cake+leveler or the saw-leveling technique: eye level, long gentle strokes from opposite sides for a flat top.
-
Apply a thin crumb coat, chill 20–30 minutes, then finish. This prevents frosting from sliding — another common issue.
-
Make-ahead batter? You can mix and chill batter for up to 24 hours in the fridge; bring back to room temperature and fold gently before baking. This fills a content gap most guides miss.
-
Storage: keep frosted cakes in a cool spot or fridge depending on frosting. Use airtight containers or cake domes for leftovers.
-
Helpful pantry links: cake+flour, espresso+powder, dutch+process+cocoa, and a cupcake+scoop if you're adapting recipes into cupcakes (about $0.50/serving).
You've just learned how to bake a cake that rises evenly: room temperature ingredients, pale fluffy creaming, precise measuring, and secure pan prep. Try these best cake baking tips on a simple vanilla or fluffy chocolate cake recipe and pin this guide for later. If you want one last tool that helps every finish, grab an offset+spatula — it's the small tool I reach for most. Which tip will you try first? Pin this guide and share it with your baking buddy!
Related posts:
 13 Decadent Dessert Recipes That Steal the Spotlight
 10 No-Bake Desserts That Save You Time and Effort
 12 Foolproof Cake Recipes That Always Impress
 7 Addictive Cookie Recipes You’ll Bake on Repeat
 14 Chocolate Dessert Recipes That Melt Instantly
 11 Clean Healthy Snacks That Crush Junk Food Cravings
 9 Crowd-Pleasing Appetizer Recipes for Any Party
 13 Party Food Ideas That Disappear First